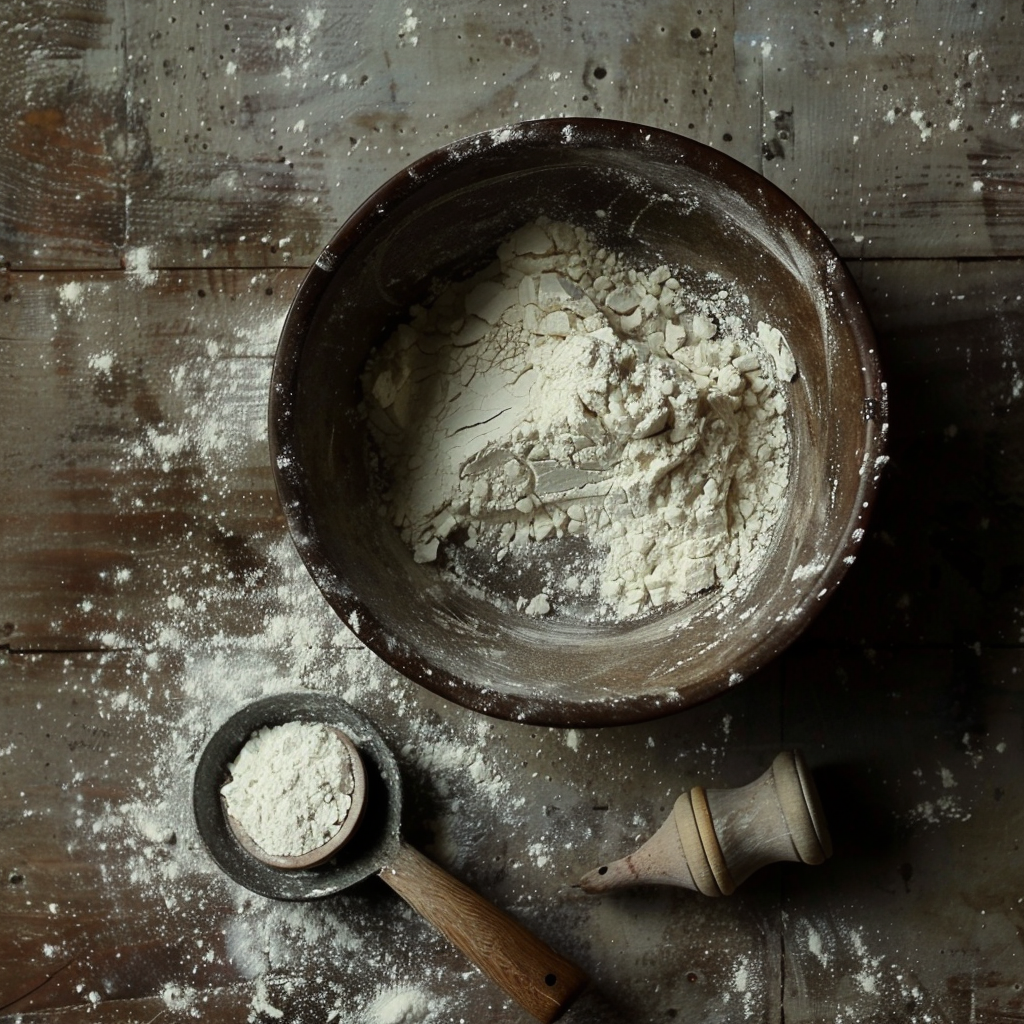
Flour is the cornerstone ingredient that forms the foundation of countless culinary creations. But what if you find yourself mid-recipe, only to realize you’re out of self-rising flour? Fear not, fellow bakers, for homemade self-rising flour is a simple and versatile alternative that you can whip up in minutes. Join me as we embark on a flour-filled adventure and unlock the secrets to creating this essential pantry staple from scratch.
Understanding Self-Rising Flour: Before we delve into the how-to, let’s take a moment to understand what sets self-rising flour apart from its counterparts:
Self-rising flour is a blend of all-purpose flour, baking powder, and salt. This unique combination is specifically formulated to provide the perfect leavening and flavoring agents for baked goods such as biscuits, pancakes, and quick breads. The baking powder provides the leavening (or rising) action, while the salt enhances the flavor and helps to balance the sweetness of the recipe.
Homemade Self-Rising Flour Recipe: Now that we’ve covered the basics, let’s dive into the recipe for homemade self-rising flour:
Ingredients:
- 1 cup (120 grams) all-purpose flour
- 1 1/2 teaspoons baking powder
- 1/4 teaspoon salt
Instructions:
-
Measure and Sift: Start by measuring out the all-purpose flour into a mixing bowl. For accuracy, it’s best to use a kitchen scale to measure the flour by weight. Once measured, sift the flour into a separate bowl to aerate it and remove any lumps.
-
Add Leavening Agents: Next, add the baking powder and salt to the sifted flour. Use a whisk or fork to thoroughly combine the ingredients until evenly distributed throughout the flour.
-
Mix Well: Once all the ingredients are added, whisk or stir the mixture well to ensure that the baking powder and salt are evenly incorporated into the flour. The mixture should appear uniform in texture and color.
-
Store for Future Use: Transfer the homemade self-rising flour to an airtight container or resealable bag for storage. Label the container with the date and contents for easy identification. Stored in a cool, dry place, homemade self-rising flour can last for several months.
Tips for Success:
- For best results, use a finely milled all-purpose flour with a moderate protein content (around 10-12%). Avoid using self-rising flour in recipes that require precise flour measurements, such as bread or cake recipes, as the leavening agents may affect the final outcome.
- If you’re making a large batch of homemade self-rising flour, you can scale up the recipe accordingly. Just be sure to maintain the proper ratio of ingredients for optimal results.
- When using homemade self-rising flour in recipes, be mindful of the additional salt content and adjust the overall salt in the recipe as needed.
With just a few simple ingredients and a little bit of know-how, you can create homemade self-rising flour that’s perfect for all your baking adventures. Whether you’re whipping up a batch of fluffy biscuits, tender pancakes, or savory quick bread, homemade self-rising flour is a versatile pantry staple that’s sure to become a favorite in your kitchen. So, the next time you find yourself in need of this essential ingredient, remember that you have the power to create it from scratch – and let the flour-filled adventures begin!
