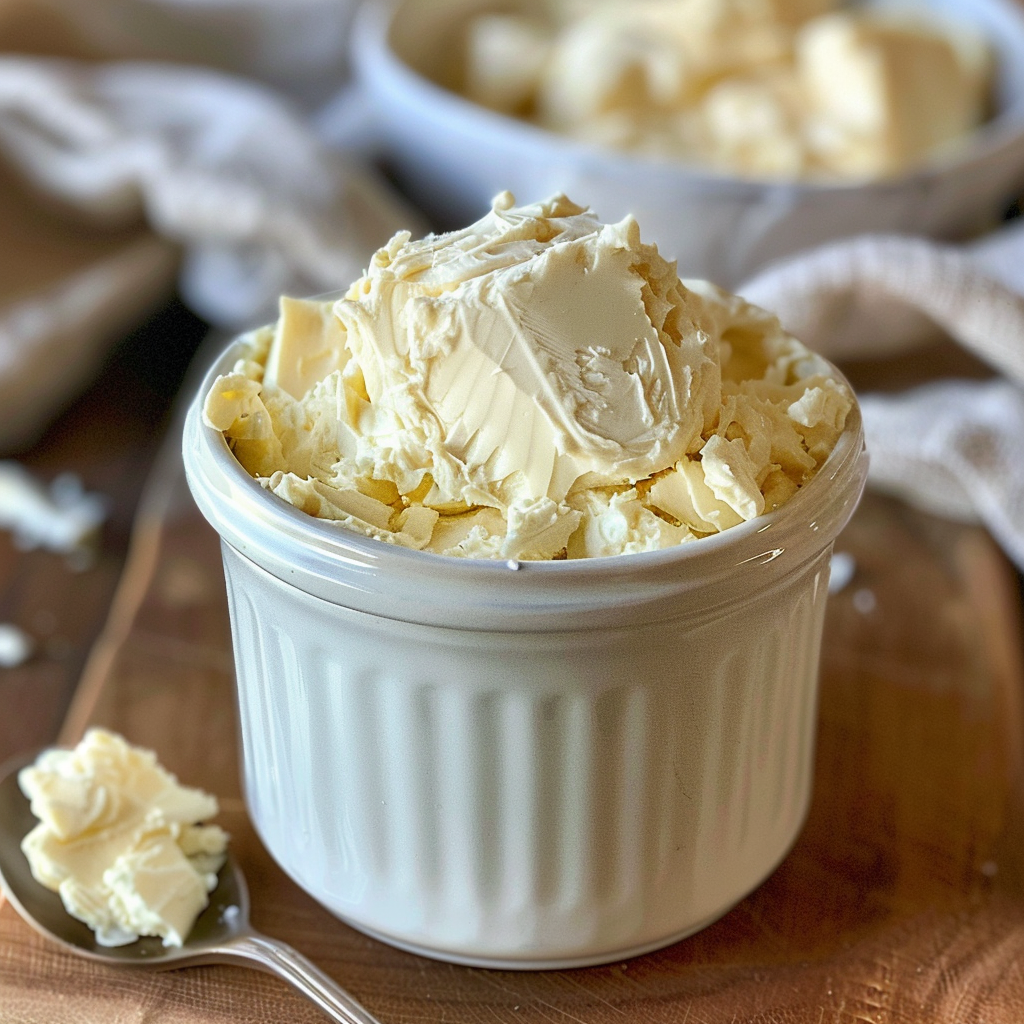
In today’s fast-paced world, where convenience often trumps tradition, there’s something deeply satisfying about creating homemade staples from scratch. One such timeless delight is homemade butter – a culinary craft that not only reconnects us with the past but also yields a rich, creamy spread that elevates any meal. Ready to embark on this culinary journey? Let’s delve into the art of making homemade butter.
Ingredients:
- Heavy cream (preferably high-quality and organic)
Equipment:
- Stand mixer or hand mixer
- Mixing bowl
- Cheesecloth or kitchen towel
- Rubber spatula
- Mason jar or airtight container for storage
Instructions:
-
Prepare the Cream: Begin by pouring the heavy cream into the mixing bowl. Ensure the cream is at room temperature, as this will help it whip more evenly.
-
Whip the Cream: Using a stand mixer or hand mixer, start whipping the cream at a medium speed. As the cream thickens, increase the speed gradually. Keep a close eye on the mixture, as it will progress through several stages.
-
Watch for Stages: Initially, the cream will become whipped cream, thickening and forming soft peaks. Continue whipping past this stage, and you’ll notice the cream beginning to separate into butterfat and buttermilk. This stage is often referred to as “breaking.”
-
Separate the Butterfat: Once the cream has broken, and you see small clumps of butterfat forming amidst the liquid buttermilk, reduce the speed of the mixer. At this point, you can also switch from using a stand mixer to a hand mixer for better control.
-
Drain the Buttermilk: Once the butterfat has clumped together, carefully pour off the liquid buttermilk. Save this buttermilk for later use in recipes or enjoy it as a refreshing beverage.
-
Rinse the Butter: Transfer the clumps of butterfat to a bowl of ice-cold water. Gently knead and press the butter under the water to remove any remaining buttermilk. This step is crucial, as residual buttermilk can cause the butter to spoil more quickly.
-
Shape the Butter: Once rinsed, remove the butter from the water and place it on a clean surface. Use a rubber spatula or your hands to shape the butter into a cohesive mass. You can also add a pinch of salt at this stage for flavor, if desired.
-
Store the Butter: Transfer the freshly made butter to a mason jar or airtight container for storage. Homemade butter will keep for about one to two weeks in the refrigerator, or it can be frozen for longer-term storage.
Tips and Variations:
- Experiment with different types of cream for unique flavors and textures.
- Add herbs, spices, or honey to the butter for infused variations.
- For cultured butter, allow the cream to ferment slightly before churning to develop a tangy flavor profile.
Making homemade butter is a simple yet rewarding culinary endeavor that connects us to time-honored traditions and wholesome ingredients. With just a few basic ingredients and minimal equipment, anyone can enjoy the unparalleled taste and satisfaction of freshly churned butter. So, roll up your sleeves, embrace the art of homemade butter making, and savor the delicious results!
